
Good galvanized steel fixing band installation starts before you cut the roll. You need the right band, a sound fixing surface, and fasteners that suit the job. Pulling the band tighter cannot make up for a weak anchor or a poor fit.
This guide shows you how to choose, cut, shape, and attach perforated fixing band. You will also learn which mistakes to avoid when securing pipes, conduit, cables, and light-duty components.
Quick answer: To install galvanized steel fixing band, check the load and fixing surface first. Measure the required length, cut the band with suitable metal snips, remove sharp burrs, and shape it around the item. Then attach it with compatible screws, bolts, or anchors. Keep the fit secure without crushing the item, and check the complete fixing before use.
What Is Galvanized Steel Fixing Band?
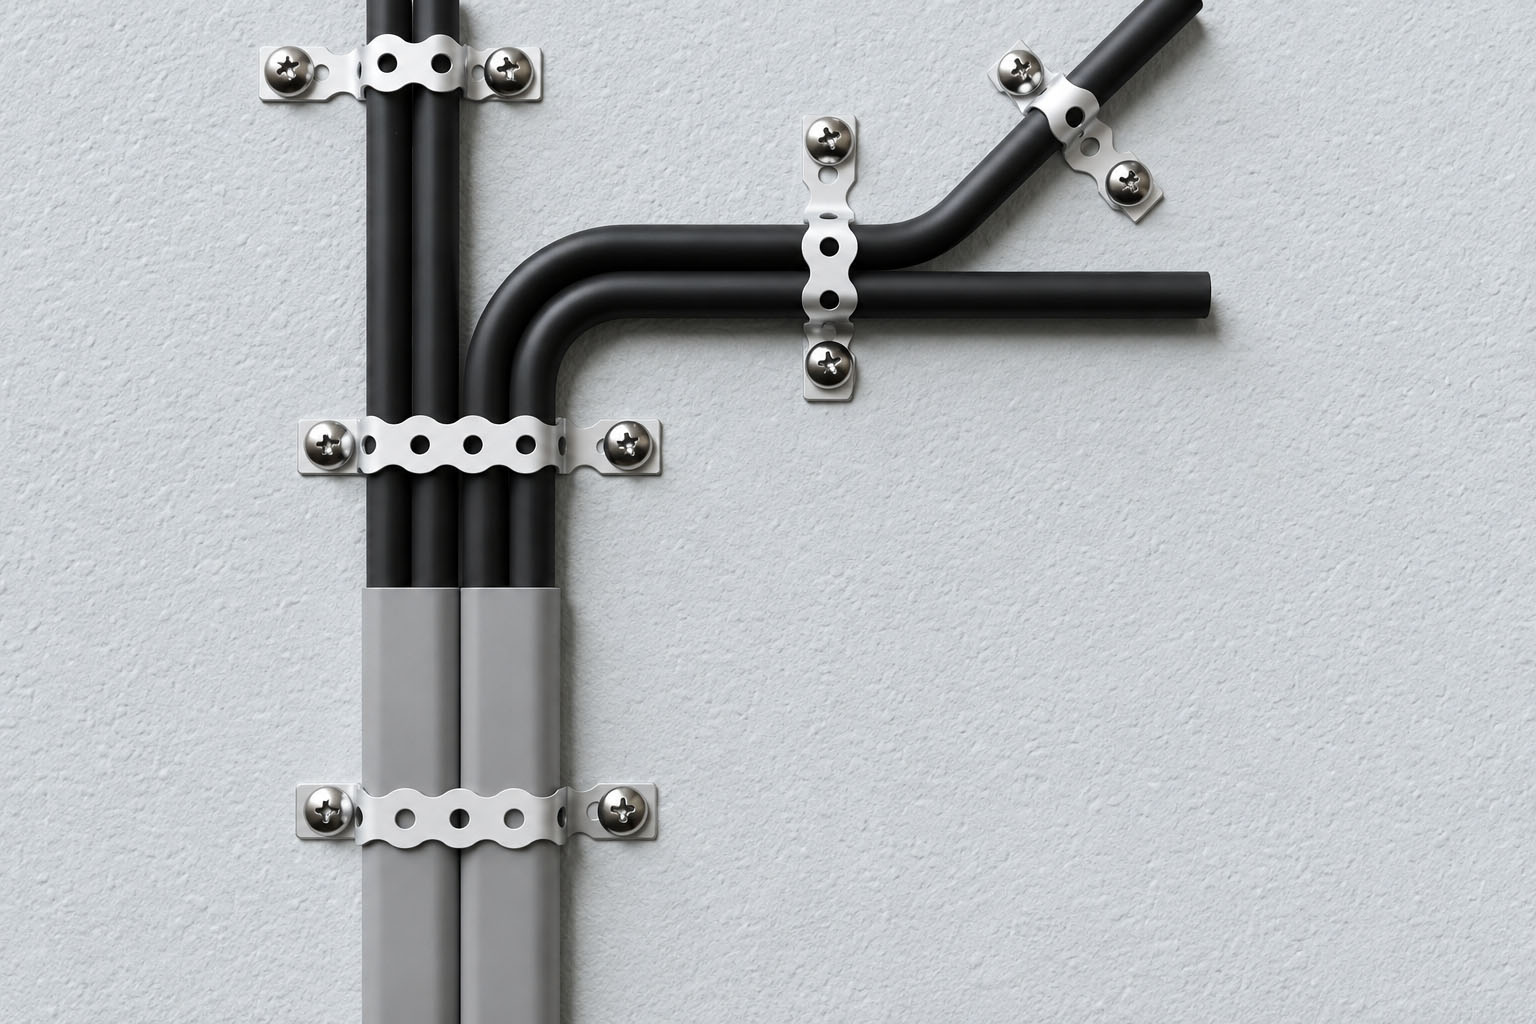
Galvanized steel fixing band is a flexible metal strip with pre-punched holes. You cut it to the length you need and use the holes to position fasteners. The zinc coating helps protect the steel against corrosion, although cut edges and damaged areas still need attention.
You may also see it called perforated fixing band, galvanized steel fixing strap, or perforated steel band. These names often describe similar products, but dimensions, hole patterns, coatings, and approved uses can differ.
You can review the available options on the Paiste galvanized steel fixing band product page. This guide covers perforated band secured with suitable fasteners, not solid steel strapping fitted with a buckle and tensioning tool.
Choose Your Fixing Band Before You Start
First, match the band to your application. Check the item you want to hold, the surface you will fix it to, and the conditions it will face. Your choice should account for the whole fixing system, not just the metal strip.
| What to check | Available options or selection point |
|---|---|
| Material | Galvanized steel |
| Width | 12 mm, 17 mm, and 27 mm; confirm the size for your order |
| Thickness | 0.7 mm and 0.8 mm options |
| Edge style | Straight or wavy edge |
| Finish | Silver galvanized or coated finish; confirm suitability for the environment |
| Hole and fastener fit | Match the hole dimensions to the screw, bolt, and any required washer |
| Load and support | Check the complete assembly, including anchors and the fixing surface |
Important: Width and thickness alone do not tell you the safe working load. Do not assume this band is suitable for overhead loads, lifting, structural bracing, or other safety-critical work. Use a rated support system and an approved design where required.
Tools and Materials You May Need
Gather your tools before you begin. The exact list depends on the surface and application.
- Galvanized steel fixing band in the selected size
- Tape measure and marker
- Metal snips suitable for the band thickness
- Cut-resistant gloves and eye protection
- A file or suitable deburring tool
- A drill and bits suited to the fixing surface
- Compatible screws, bolts, anchors, and washers where specified
- A protective liner where the band could damage the item
- A suitable coating repair product if the installation requires it
Use the fastener manufacturer’s instructions for drilling, hole cleaning, fixing depth, and tightening. If you are working near electrical services, arrange safe isolation and use a qualified installer where needed.
Galvanized Steel Fixing Band Installation: 7 Practical Steps
1. Check the Fixing Surface
Start with the surface that will carry the load. Look for cracks, loose material, rot, rust, or thin panels that may bend. A band cannot create a reliable fixing if the base is weak.
For masonry or concrete, choose an anchor approved for that specific material. For timber, check that your screw reaches sound wood. For thin metal, check whether you need a backing plate or a different fixing method.
Before drilling, locate hidden pipes and cables. Also allow enough room to inspect and service the fixing later.
2. Measure the Required Length
Place the band along the planned route without pulling it tight. Allow enough length to wrap around the item and reach the chosen fixing points. Include space for bends, any protective liner, and the fastener positions.
Next, mark the cut point. Check that you will have usable holes at the ends and enough material around each fixing. A short offcut may look tidy, but it can leave too little room for a sound connection.
3. Cut the Band Cleanly
Support the strip on a stable surface and use suitable metal snips. Wear gloves and eye protection, and keep the loose end under control.
Make a clean cut without twisting or tearing the strip. Avoid leaving a partly cut hole or narrow metal point at the end. Follow any product-specific guidance on where to cut in relation to the hole pattern.
4. Smooth Sharp Edges and Check the Coating
Inspect the cut end for burrs. Remove sharp points with a suitable file or deburring tool, taking care not to damage the surrounding coating.
Cutting exposes the steel at the edge. If the job requires coating repair, use a compatible product and follow its instructions. Do not assume an untreated cut edge has the same protection as the original galvanized surface.
Keep finished ends away from cables, hands, and other parts that could rub against them.
5. Shape the Band Around the Item
Form the strip gradually so it follows the item’s shape. Avoid sharp folds and repeated bending at the same point. These can damage the strip or its coating.
If you are securing a pipe, conduit, or coated part, check whether you need a liner. A suitable liner can separate the metal edge from the surface, but it does not replace the correct band size or support design.
For cables and insulation, use a fixing method approved for that application. Bare metal band should not cut into a cable jacket or crush soft insulation.
6. Attach the Ends and Adjust the Fit
Position the first end and fit the selected fastener. Then bring the band around the item and align the other end without forcing the holes into place.
Use washers where the fixing design calls for them. Check that the fastener head or washer bears properly on the strip and cannot pull through the hole.
Tighten according to the fastener instructions. Aim for a secure fit, not maximum pressure. Stop if the band distorts, the anchor moves, or the item starts to flatten. Correct the cause before continuing.
7. Inspect the Complete Fixing
Before you put the installation into use, check the band, fasteners, and base together. Look for movement, bent holes, loose ends, and points where the strip could rub against the item.
Make sure you have not blocked access to valves, covers, joints, or service points. For larger projects, record the band size and fixing method so your team can repeat the approved setup.
Adjust Your Method to the Application
Pipes and Conduit
Check the required support spacing and allow for movement where the system needs it. Do not force a pipe out of line to meet a fixing point. For a load-bearing pipe support, confirm that the complete assembly is suitable before installation.
Cables and Insulation
Protect the outer jacket and any soft covering. Use approved supports and liners, and avoid pressure that changes the cable shape. If the cable specification calls for a dedicated clamp or support, use that instead of a general-purpose metal strap.
HVAC Parts and Thin Metal Panels
Check both vibration and the strength of the fixing surface. A secure screw in a weak panel can still lead to a poor installation. Use the specified support points and do not assume that fixing band can replace a rated duct hanger.
Outdoor Installations
Review rain, salt, chemicals, and contact with other metals before choosing the finish. Galvanized steel is not rust-proof, and a color coating does not automatically make a band suitable for every outdoor setting. Confirm the material and coating requirements for your site.
Common Fixing Band Installation Mistakes
- Choosing by thickness alone: Check the fasteners, holes, surface, and load as a complete system.
- Cutting the band too short: Leave enough length for the planned bends and secure end connections.
- Leaving sharp ends: Smooth burrs and position cut edges away from contact points.
- Overtightening: Do not crush the item or bend the band around the fastener.
- Using an unsuitable anchor: Match it to concrete, masonry, timber, or metal as required.
- Ignoring movement: Allow for vibration, thermal movement, and access where the system needs them.
- Reusing damaged strip: Replace band with cracks, badly stretched holes, or repeated sharp bends.
Check Your Installation Over Time
Include the fixing in your normal maintenance checks. Look for loose fasteners, movement, rust, coating damage, and wear where the band touches the item.
If you find a problem, identify its cause before simply tightening the screw again. Vibration, a weak base, or an unsuitable material may require a different support method. Set the inspection schedule to suit the environment and project requirements.
Your Final Installation Checklist
- You have selected the band and fixing method for the application.
- The base is sound and the anchors suit the surface.
- The cut ends are smooth and coating damage has been addressed where required.
- The band follows the item without sharp folds or harmful pressure.
- Fasteners sit correctly and have been tightened as specified.
- The item has the support, clearance, and movement it needs.
- You can inspect and maintain the fixing safely.
Galvanized Steel Fixing Band Installation FAQs
How Do You Cut Galvanized Steel Fixing Band?
Use metal snips rated for the strip’s thickness. Support the band, wear gloves and eye protection, and keep the cut controlled. Afterward, remove burrs and check whether the exposed edge needs coating repair.
Which Screws Should You Use?
Choose screws, bolts, or anchors to suit the fixing surface, hole size, environment, and load. There is no single fastener that suits every installation. Follow the fixing supplier’s instructions for the complete connection.
How Tight Should the Band Be?
The band should hold the item securely without crushing it or distorting the fixing holes. Follow the specified tightening requirements. More tension is not always better.
Can You Use Galvanized Fixing Band Outdoors?
It may suit some outdoor applications, but you need to check the coating and site conditions first. Salt, chemicals, damaged coatings, and contact with other metals can affect corrosion performance.
Can You Use It for Heavy or Overhead Loads?
Do not assume that you can. Use documented load data and an approved support design. For safety-critical work, choose a rated system and obtain qualified guidance.
Can You Reuse a Cut Length?
Only consider reuse if the application permits it and the strip remains suitable. Do not reuse band with cracks, heavy corrosion, damaged holes, or repeated sharp bends. If you cannot confirm its condition, replace it.
Source Galvanized Steel Fixing Band from Paiste

Paiste is a professional galvanized steel fixing band manufacturer and wholesaler in China. We supply overseas dealers, distributors, and project buyers who need suitable band options for their markets and installation requirements.
You can discuss 12 mm, 17 mm, and 27 mm widths, 0.7 mm and 0.8 mm thicknesses, and straight or wavy edges. Available finish and color options include galvanized silver, black, white, brown, beige, red, and custom colors. Confirm the exact specification and available combinations for your order.
When you request a wholesale quote, share your application, preferred dimensions, finish, quantity, and packaging needs. If your project has specific performance or inspection requirements, include those too so you can agree on the right specification before ordering.
Explore Paiste galvanized steel fixing band options to prepare your next distributor order or project supply enquiry.
Need Professional Pest Control Solutions?
We supply high-quality pest control products for wholesalers, distributors, and pest control companies worldwide.